Home
News
Lists
Reviews
Guides
Search for:
Search
Menu
Search
Search for:
Search
Latest stories
in
Reviews
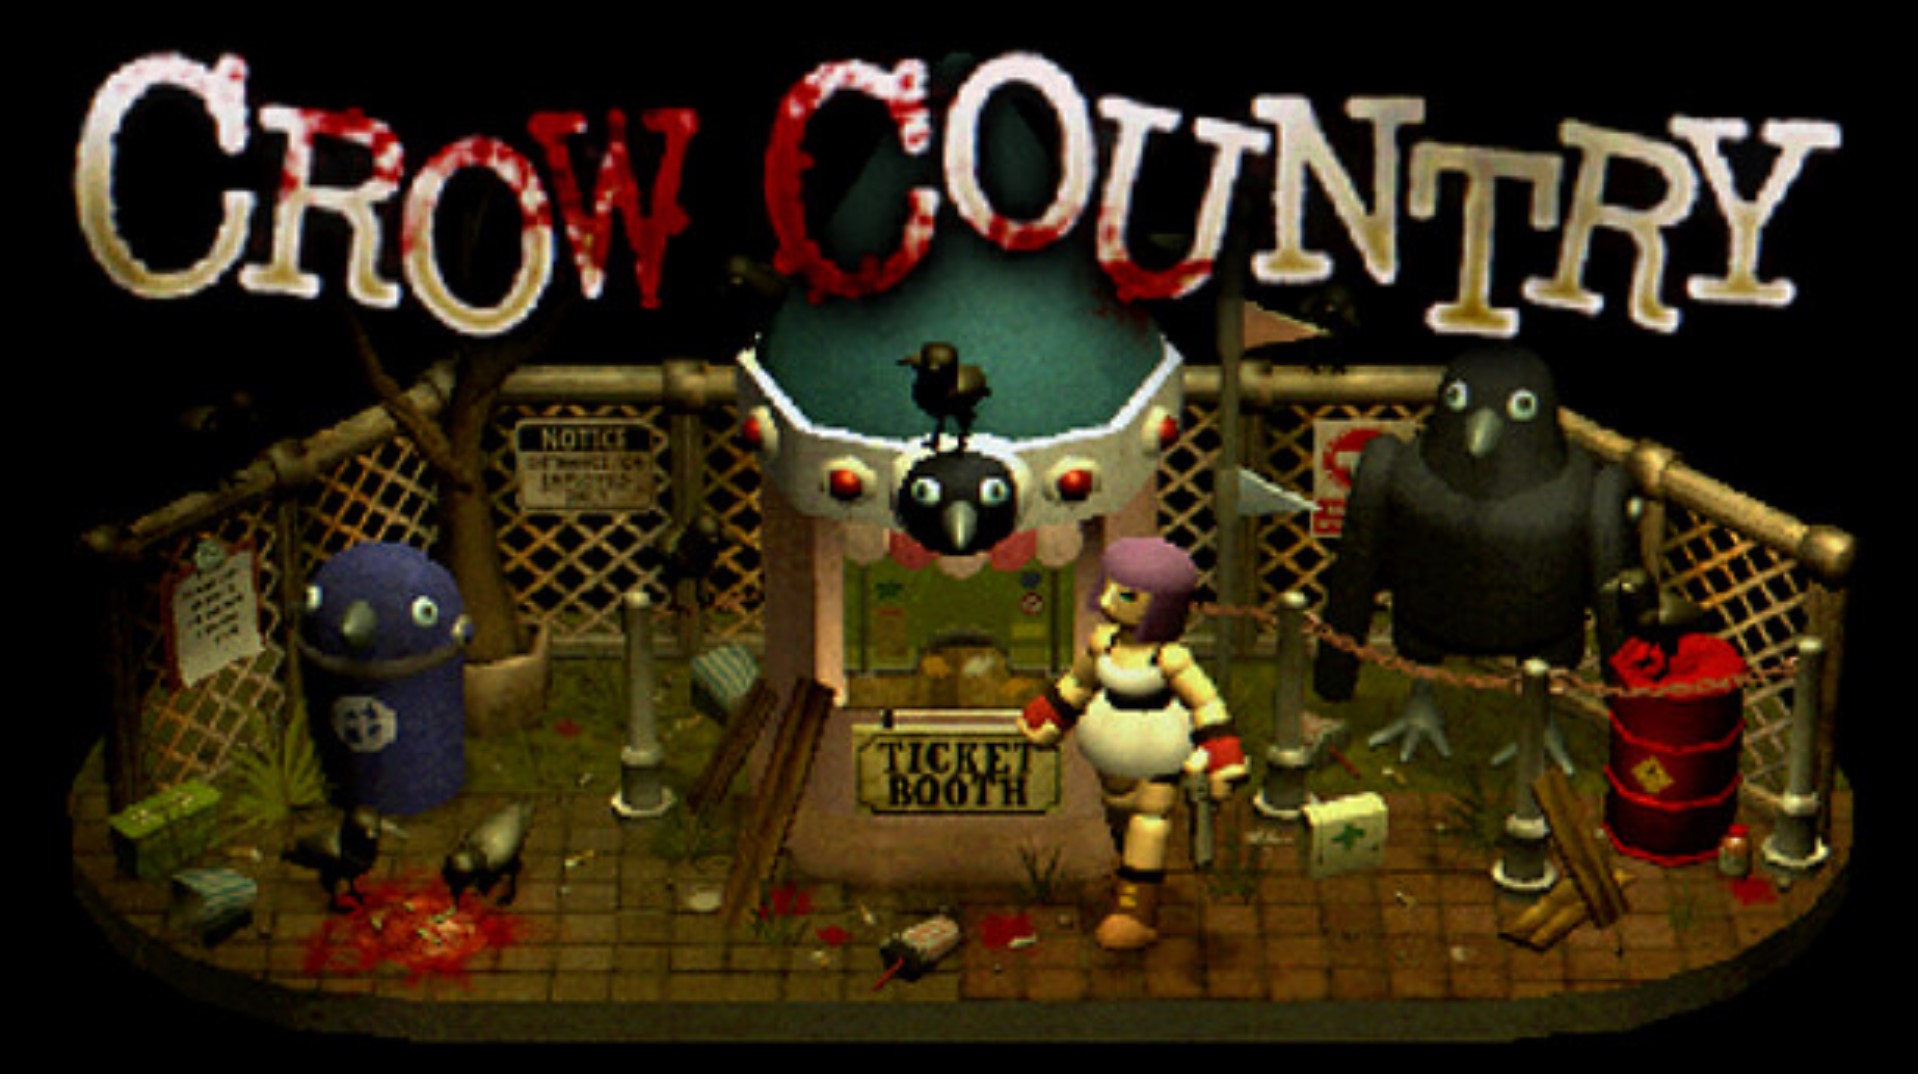
Crow Country Review – A Creepy Corvid Conundrum
in
Features
How Every Star Wars Holds Up During A 24 Hour Marathon
in
Reviews
Heading Out Review – On The Road Again
More stories
in
Lists
28 Best VR Games on Steam in 2024
in
Lists
22 Best Skyrim VR Mods for Ultimate Immersion
in
Features
New Indie Games Releasing This Week
in
Lists
The Best Games From the 2000s
in
Lists
17 Best Fallout 4 VR Mods and Mod Lists for True Immersion
in
Opinion
The Stories We Play: Doki Doki Literature Club
in
Lists
The Most Iconic Game Releases
in
Guides
How to Get Horses in Manor Lords
in
Guides
How to Get Engines in My Time at Sandrock
in
Lists
The Worst Game Releases Of All Time
in
Lists
Games That Were Bad on Release, But Are Now Great
in
Features
Indie Insights Vol. 32 – Northern Space Farm
Pages
1
2
3
4
Next
Close
Home
News
Lists
Reviews
Guides
Meet Our Staff
About Us
Search for:
Search